How to create a beautiful vintage frame in Illustrator
October 20th, 2015
This is a very detailed tutorial on how to create a beautiful, custom vintage frame in just 5 minutes. There are a lot of steps involved in the process, but it is actually quite easy and fast to pull off once you master the technique.
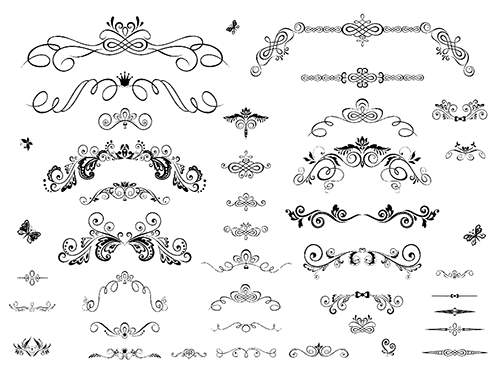
For our purposes, we will use a file from a free vector resource: http://all-free-download.com/free-vector/download/decor_ornaments_and_border_vector_545490.html
1) First of all, select the image. Use the “Extract Object/Expand” option.
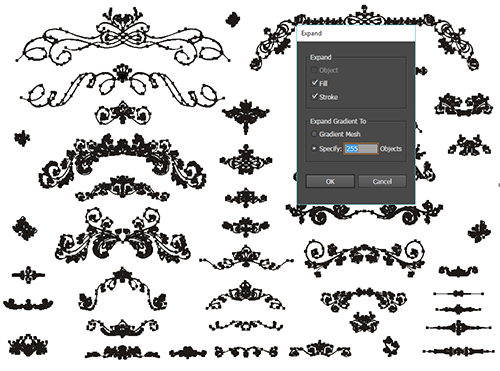
2) Select the image and click “Pathfinder/Divide”. Use “Ungroup Object/Ungroup” on the selection.

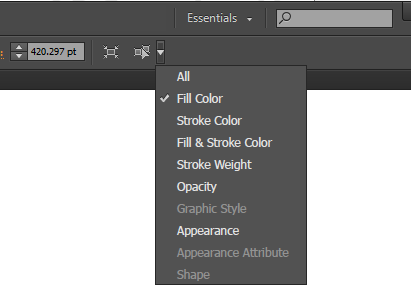
3) Now, we are going to delete the white background. Click on the background, then click on “Select Similar Objects” with “Same Fill Color” checked and press the delete button.
4) For my frame, I have chosen two design elements from the free vector resource file. You can play with different elements and graphic details – the possibilities are limitless!
Select the elements you want. Then, in the Select menu, click “Select/Inverse” to select the rest of the graphic.
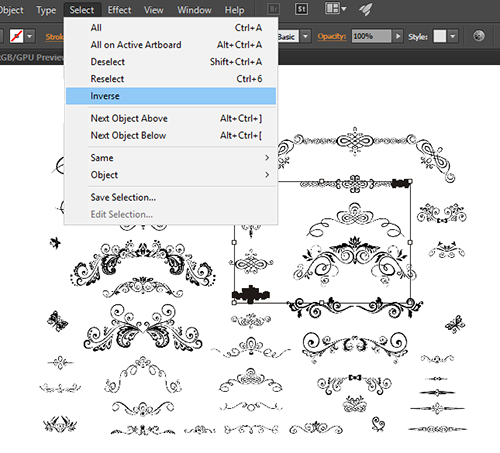
5) Proceed to press Delete to leave only the elements you want.

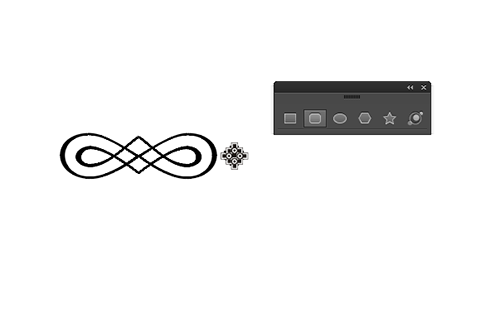
6) I decided to add a rounded square to my frame. Create the rounded square shape. In Illustrator CC15, this shape is easy to make and to modify roundness, but it may take longer in older versions of Illustrator.

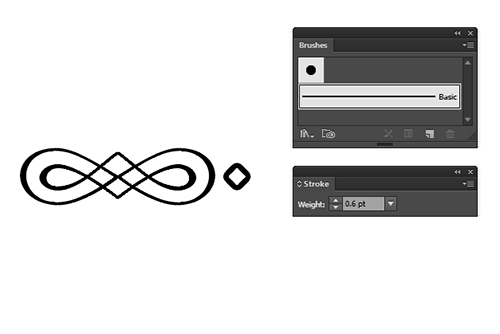
7) Select the square and choose "Basic" in the brushes menu. Change the stroke size to 0.6pt.
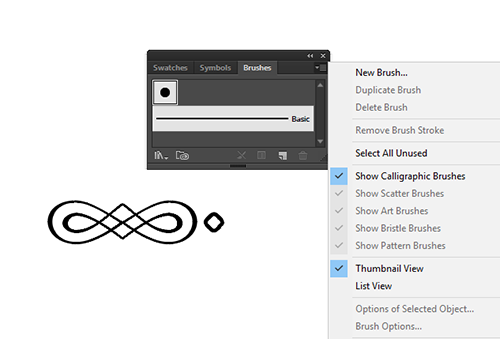
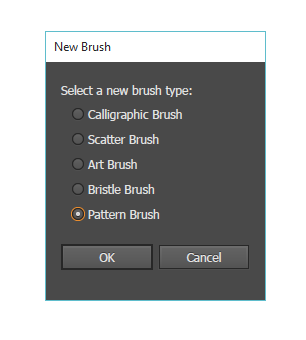
8) We are going to create a new brush based on these two elements. Go to the Brush menu, click on "Options" and choose "New Brush".
9) You will notice a new window has opened. Choose the "Pattern Brush" option.
10) In the next window you can name your frame and choose several other options. I changed the spacing to 5% and changed colorization method to "Hue Shift" in order to be able to change the brush colors later if necessary.

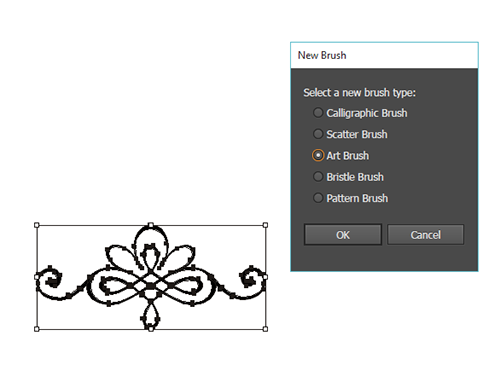
11) For my frame, I need to create another brush utilizing my second chosen graphic element. The process is similar, but for this one I chose the "Art Brush" option, not "Pattern Brush".
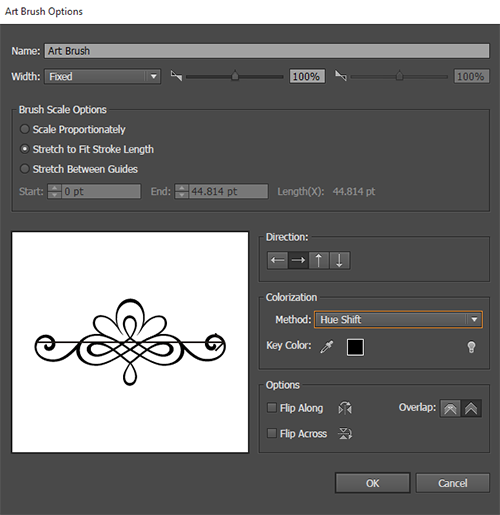
12) Just like last time, name your brush and change the colorization "Hue Shift".
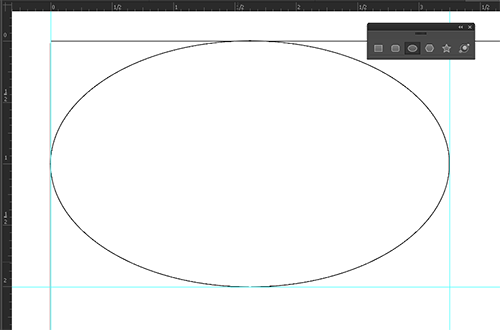
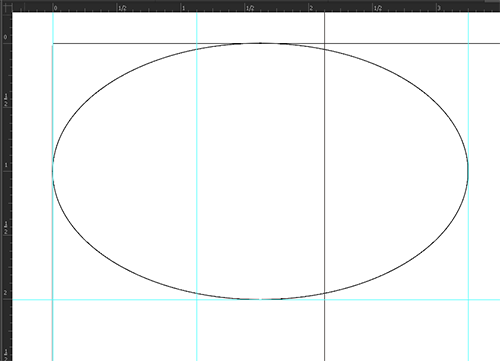
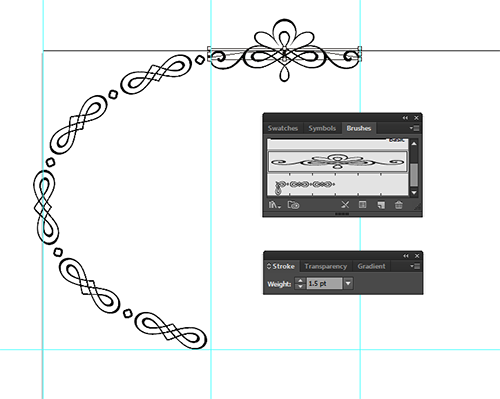
13) For the frame I am creating, I chose to make an ellipse with the ellipse tool (L), 3.25 by 2 inches in size.
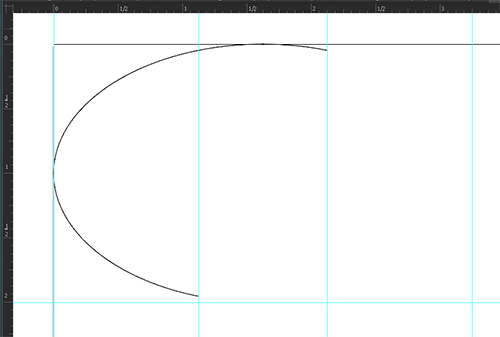
14) Now we add two guidelines at the 1.125 inch and 2.125 inch marks.
15) Select the ellipse and divide in in two along the guidelines, using the Scissors tool (C).

16) Select and remove the right segment.
17) The fun part can finally begin! Select the left segment (up to the left guideline) and choose the Vintage Brush we created earlier.
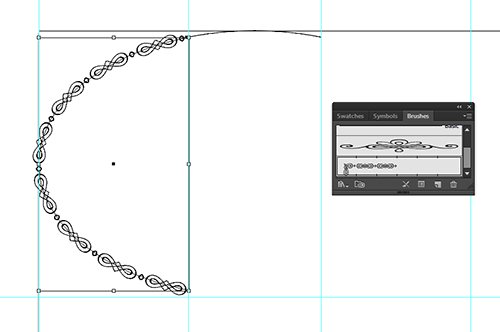
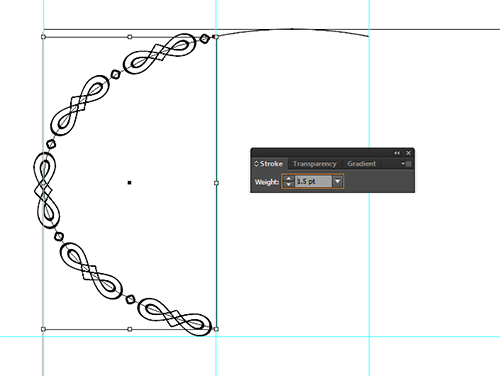
18) Change the stroke weight to 1.5 pt.
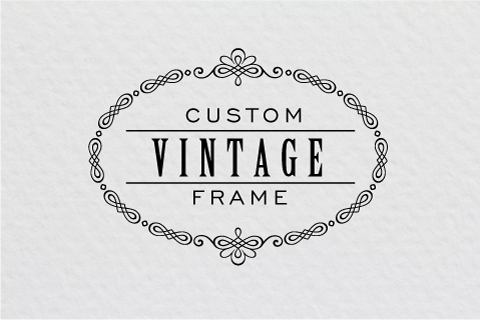
19) Select the top segment (between the left and right guidelines) and chose the Art Brush, change the stroke weight to 1.5 pt again.
Note that you can change the stroke colors if you want, but I chose to leave them black here.
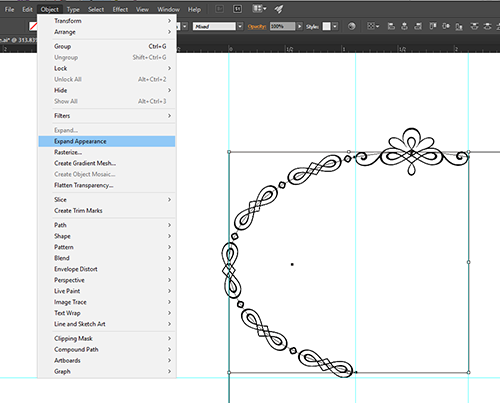
20) Select both strokes and click on "Object/Expand Appearance".
21) Select the top element and use the Reflect Tool (O) to mirror it.
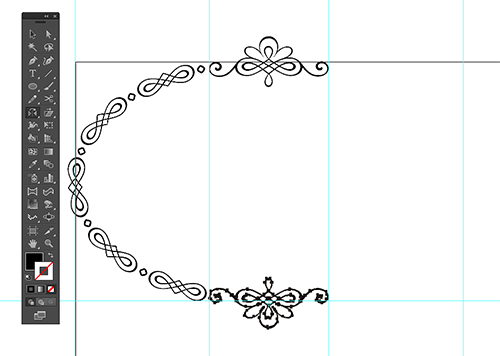
22) Proceed to do the same with the left element.

23) Your beautiful new frame is ready!